Table of Contents
In this article, we will create a repository using google source repositories in 5 Simple steps. If you are a developer then you might be aware of Repository Concept. For those of you who are not aware, Repository is basically a centralized location either on-premise or on cloud to keep all the source code of a Project and then that code can either be deployed manually or through automation to Prod or Testing Servers. While GitHub is most popular repository currently preferred by many developers and programmers due to its number of features, here we will see the steps to create a Repository in Google Cloud using Source Repositories Service which is very much similar to GitHub.
Cloud Source Repositories VS GitHub
- Cloud Source Repositories is a Google Cloud based repository Service whereas GitHub is an open source repository available in Public domain.
- Google CSR Projects can be connected and synced to GitHub Projects.
- Google CSR can be added as a remote to our local Git Repository and use it like any other remote.
- Cloud Source Repository can be used as Standard Git Repository.
- All the Cloud Source Repository Operations can be performed using Git based Command Line tool.

How to Create a Google Source Repository(GSR)
Also Read: How to Link Google Cloud Project to a Billing Account in 4 Easy Steps
Step 1: Prerequisites
a) You need a valid Google Email ID and Password.
b) You should have permission to create Repository.
Step 2: Go to Google Cloud Dashboard
In the First step, you need to login to Google Cloud using valid Google Email ID and password. After successful authentication, you should be able to see Google Dashboard like below.
Step 3: Open Source Repositories
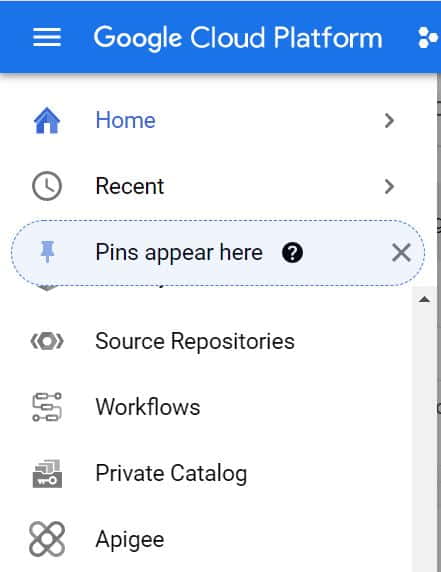
There are two ways to open google source repositories: one way is to drag the cursor down on the left side and click on Source Repositories. Another option is to Search Source Repositories under Search option on top.
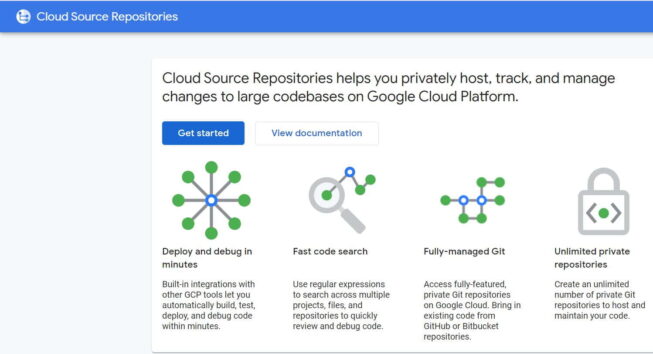
After you click on Get Started, you will see below Create Repository option. Click on this Option to create your repository.

Step 4: Add a Repository
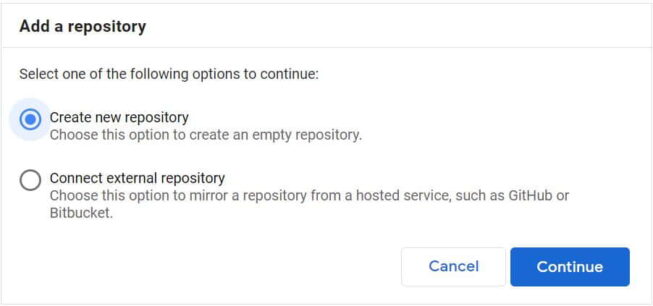
Once you click on Create Repository option, you will able to see below screen with two different option: Create New Repository and Connect External Repository. Since we are going to create a new repository so we will use create new repository option and then click on Continue.
Step 5: Create New Repository
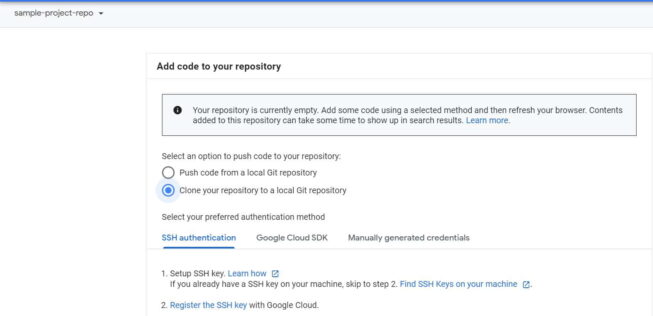
Here we are creating a repository sample-project-repo under Project sample-project-308612. More on Google Cloud.
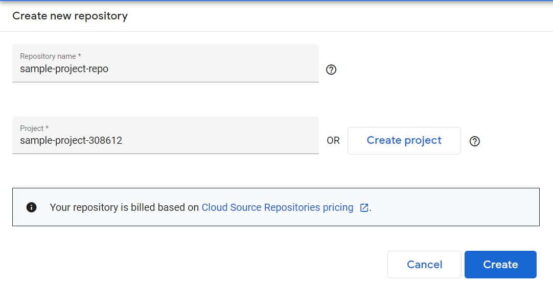
NOTE:
sample-project-308612 already created which we are using in this article. You can also create a project before creating a repository or you can use any of the existing project.Once you clicked on Create, after 1-2 mins you will see your repo sample-project-repo got created just like below. That's it. You have now created an Empty Repo. Now you can go ahead and start adding your code.
