Table of Contents
In this article, I will take you through the steps to Install GNOME Desktop(GUI) on CentOS 7. GNOME is a free and open source Graphical User Interface Desktop environment available in almost all the flavors of Linux. It was first released in the year 2011 providing basic functions like launching applications and switching between windows. GNOME was basically targeted for Desktop Computer Users but later on it was being developed to use in all kind of systems. One can easily download and install this GUI environment using yum package manager. We will see the steps in great detail. More on GNOME official documentation.
How to Install GNOME Desktop(GUI) on CentOS 7
Also Read: How to Install and Use AIDE on RHEL/CentOS 7/8 [Easy Steps]
Step 1: Prerequisites
a) You should have a running RHEL/CentOS 7 System.
b) You should have sudo or root access to run privileged commands.
c) You should have yum utility available in your System.
Step 2: Update Your Server
Before installing a new package, it is always a good idea to update the System with the latest available versions using yum update command as shown below. If any of the packages needs upgradation then upgrade it by using yum upgrade command.
[root@cyberithub ~]# yum update
Loaded plugins: fastestmirror
Loading mirror speeds from cached hostfile
* base: centos.mirror.snu.edu.in
* extras: centos.mirror.snu.edu.in
* updates: centos.mirror.snu.edu.in
base | 3.6 kB 00:00:00
extras | 2.9 kB 00:00:00
updates | 2.9 kB 00:00:00
No packages marked for update
Step 3: Check Package Groups
You can check all the available package groups by using yum grouplist or yum group list command. As you can see from the below output, we need to basically install GNOME Desktop and Graphical Administration Tools package groups.
[root@cyberithub ~]# yum grouplist
Loaded plugins: fastestmirror
There is no installed groups file.
Maybe run: yum groups mark convert (see man yum)
Loading mirror speeds from cached hostfile
* base: centos.mirror.snu.edu.in
* extras: centos.mirror.snu.edu.in
* updates: centos.mirror.snu.edu.in
Available Environment Groups:
Minimal Install
Compute Node
Infrastructure Server
File and Print Server
Basic Web Server
Virtualization Host
Server with GUI
GNOME Desktop
KDE Plasma Workspaces
Development and Creative Workstation
Available Groups:
Compatibility Libraries
Console Internet Tools
Development Tools
Graphical Administration Tools
Legacy UNIX Compatibility
Scientific Support
Security Tools
Smart Card Support
System Administration Tools
System Management
Done
Step 4: Install GNOME Desktop(GUI)
To install GNOME Desktop and Graphical Administration Tools package groups, you need to use either yum groupinstall "GNOME Desktop" "Graphical Administration Tools" or yum group install "GNOME Desktop" "Graphical Administration Tools" command as shown below.
[root@cyberithub ~]# yum groupinstall "GNOME Desktop" "Graphical Administration Tools"
Loaded plugins: fastestmirror
There is no installed groups file.
Maybe run: yum groups mark convert (see man yum)
Loading mirror speeds from cached hostfile
* base: centos.mirror.snu.edu.in
* extras: centos.mirror.snu.edu.in
* updates: centos.mirror.snu.edu.in
Warning: Group core does not have any packages to install.
Warning: Group graphical-admin-tools does not have any packages to install.
Group graphical-admin-tools does have 1 conditional packages, which may get installed.
Resolving Dependencies
--> Running transaction check
---> Package ModemManager.x86_64 0:1.6.10-4.el7 will be installed
--> Processing Dependency: ModemManager-glib(x86-64) = 1.6.10-4.el7 for package: ModemManager-1.6.10-4.el7.x86_64
--> Processing Dependency: libqmi-utils for package: ModemManager-1.6.10-4.el7.x86_64
--> Processing Dependency: libmbim-utils for package: ModemManager-1.6.10-4.el7.x86_64
--> Processing Dependency: libqmi-glib.so.5()(64bit) for package: ModemManager-1.6.10-4.el7.x86_64
--> Processing Dependency: libmm-glib.so.0()(64bit) for package: ModemManager-1.6.10-4.el7.x86_64
--> Processing Dependency: libmbim-glib.so.4()(64bit) for package: ModemManager-1.6.10-4.el7.x86_64
--> Processing Dependency: libgudev-1.0.so.0()(64bit) for package: ModemManager-1.6.10-4.el7.x86_64
---> Package NetworkManager-adsl.x86_64 1:1.18.8-2.el7_9 will be installed
---> Package NetworkManager-bluetooth.x86_64 1:1.18.8-2.el7_9 will be installed
......................................................................
Step 5: Enable GUI
After successful installation of GNOME Desktop environment, you need to enable and make the graphical mode as default. This can be done by using systemctl set-default graphical command as shown below.
[root@cyberithub ~]# systemctl set-default graphical
Removed symlink /etc/systemd/system/default.target.
Created symlink from /etc/systemd/system/default.target to /usr/lib/systemd/system/graphical.target.
Step 6: Reboot Server
Finally reboot the Server using reboot command to start the Graphical mode.
[root@cyberithub ~]# reboot
Step 7: Setup GNOME Desktop(GUI)
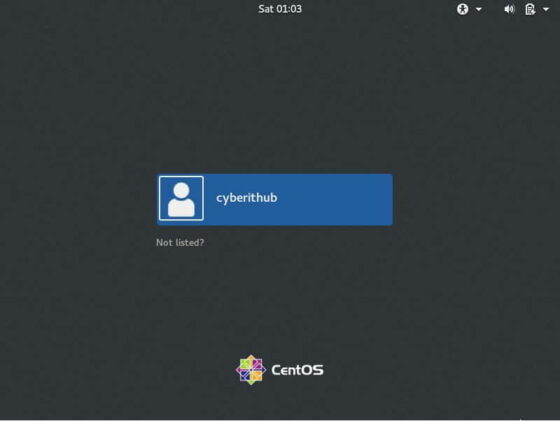
After reboot, you should be able to see the GNOME Desktop environment like below.
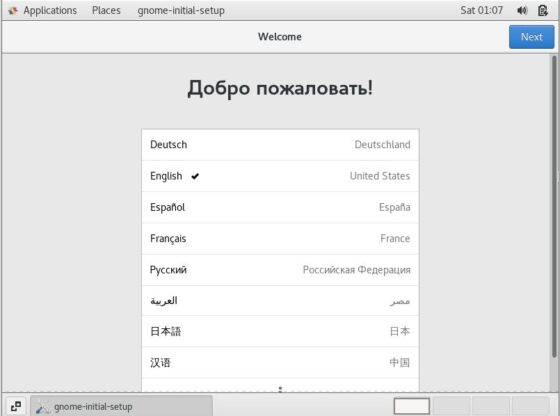
Once you logged in, you should be able to see the below Window to select your language. By default, English will be selected so I will leave it as it is and Click on Next.
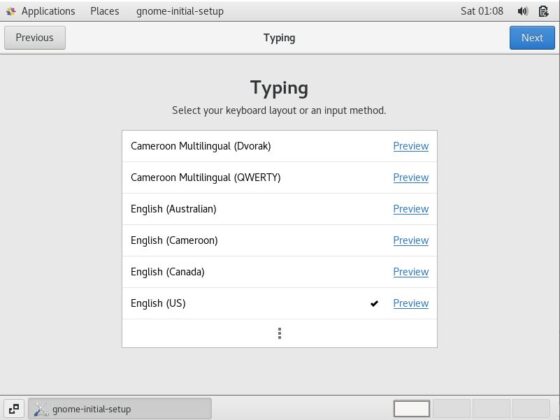
In the next step, you need to setup your Keyboard layout. By default, it will be selected as English(US) so I will leave as it is and Click on Next. You are free to choose any Keyboard layout here based on your preference.
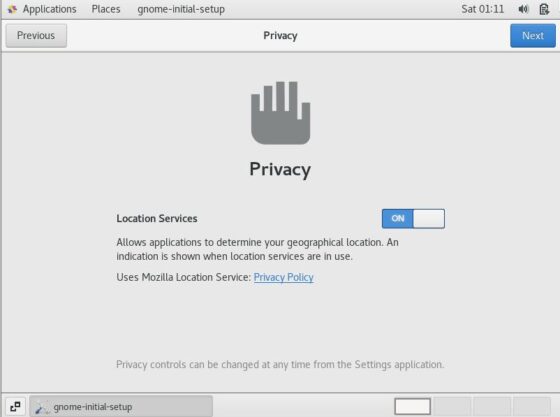
In the next window, you will see an option to turn Location Services ON or OFF. Turning ON will allow applications to determine your geographical location. By default, it will selected as ON so for the moment I will leave as it is and Click on Next. If you don't want to any application to see your geographical location then you can switch OFF your Location Services.
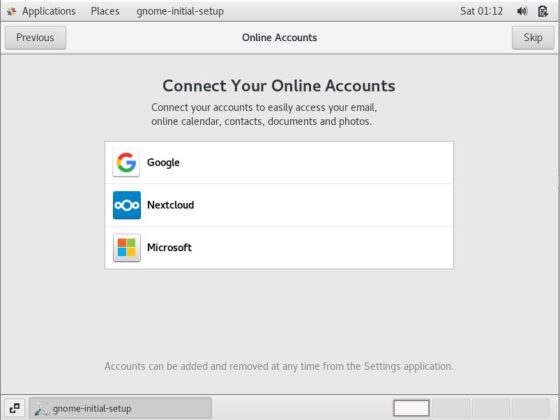
In the next windows, you will be asked to connect your accounts to easily access your email, online calendar, contacts, documents and photos. You can either connect it or skip for the moment. I am choosing to skip this as of now so I will click on Skip.
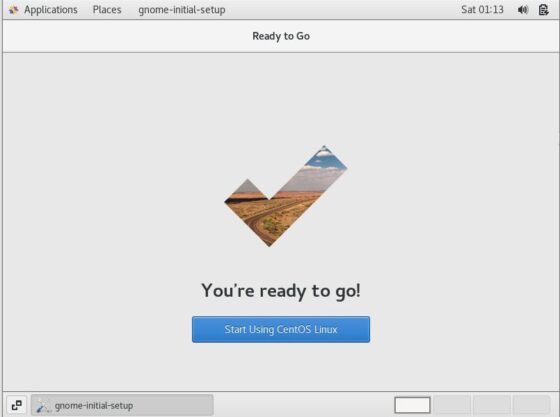
This concludes your setup and now you are ready to use your System. To finish the setup Click on Start Using CentOS Linux.
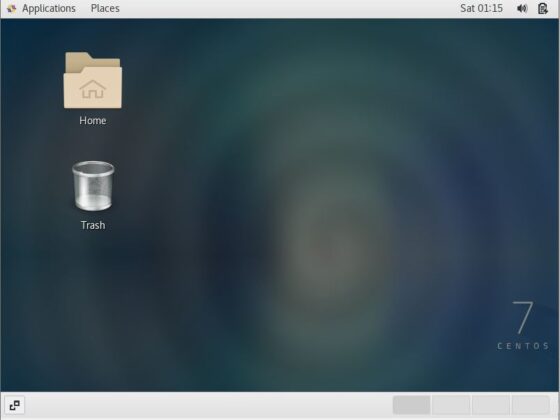
This will bring you to the Server Desktop where you can start using your System as shown below.
Step 8: Uninstall GNOME Desktop(GUI)
In case, you decide not to use GNOME Desktop anymore then you can uninstall it by using yum groupremove "GNOME Desktop" "Graphical Administration Tools" or yum group remove "GNOME Desktop" "Graphical Administration Tools" command as shown below.
[root@cyberithub ~]# yum groupremove "GNOME Desktop" "Graphical Administration Tools"
Loaded plugins: fastestmirror, langpacks
Loading mirror speeds from cached hostfile
* base: centos.mirror.snu.edu.in
* extras: centos.mirror.snu.edu.in
* updates: centos.mirror.snu.edu.in
No group named GNOME Desktop exists
No environment named Graphical Administration Tools exists
Resolving Dependencies
--> Running transaction check
---> Package ModemManager.x86_64 0:1.6.10-4.el7 will be erased
---> Package NetworkManager-adsl.x86_64 1:1.18.8-2.el7_9 will be erased
---> Package NetworkManager-bluetooth.x86_64 1:1.18.8-2.el7_9 will be erased
---> Package NetworkManager-libreswan-gnome.x86_64 0:1.2.4-2.el7 will be erased
---> Package NetworkManager-ppp.x86_64 1:1.18.8-2.el7_9 will be erased
---> Package NetworkManager-wifi.x86_64 1:1.18.8-2.el7_9 will be erased
--> Processing Dependency: NetworkManager-wifi for package: anaconda-gui-21.48.22.159-1.el7.centos.x86_64
---> Package NetworkManager-wwan.x86_64 1:1.18.8-2.el7_9 will be erased
---> Package PackageKit-command-not-found.x86_64 0:1.1.10-2.el7.centos will be erased
---> Package PackageKit-gstreamer-plugin.x86_64 0:1.1.10-2.el7.centos will be erased
---> Package PackageKit-gtk3-module.x86_64 0:1.1.10-2.el7.centos will be erased
........................................................................................
