Table of Contents
In this article, I will take you through the steps to install Spotify on Windows 10. Spotify is a commercial audio streaming and media services provider founded on 23rd April 2006 by Daniel Ek and Martin Lorentzon. It is one of the largest music streaming service providers, with over 422 million monthly active users, including 182 million paying subscribers, as of March 2022. It is quite popular among the Music Lovers. It is fast and very easy to use. More on official website.

How to Install Spotify and Listen Music on Windows 10
Also Read: How to Download and Install Oracle VirtualBox on Windows 10
Step 1: Prerequisites
a) You should have a running Windows 10 System.
b) You should have an active Internet connection in your System.
c) You should have access to install any software in your System.
Step 2: Download Spotify
You need to go to Spotify official website and download the software by clicking on Download as shown below. It will start downloading the software in the local download folder.

Step 3: Install Spotify
Once the software is downloaded, you can double click on it to start the installation as shown below.

Once it is installed, it should open like below. If you already have an account to login then just click on LOG IN or else you can click on SIGNUP to first create your account.

Step 4: Sign Up
You can create an account by clicking on SIGNUP option. Here you need to specify your email Id, Password and an alias name with which Spotify will call you. Once provided, Click on Continue.

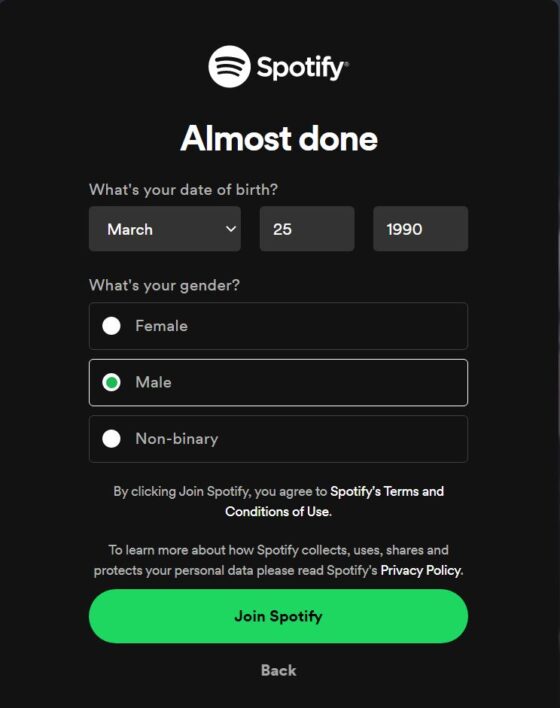
In the next screen, you need to provide your date of birth and Gender. Once done, Click on Join Spotify.

Step 5: Login to Spotify
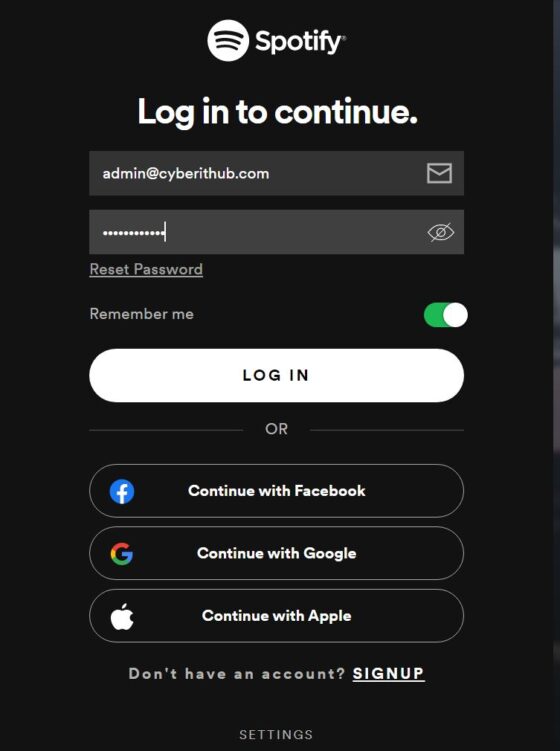
Since I already have an account created, I will just log in using my username and password as shown below.

After providing your credentials, hit LOG IN and you will see below page after successful authentication. Here you have the option to Search in the left side where you can search any music or song you want to listen.

