Table of Contents
In this article, we will see how to create a discord server in 3 easy steps. Discord is a voice, video and text communication service used by over hundred million people all over the world to connect with their loved ones and hang out with the communities. You might ask there are tons of other tools out there for this purpose so why use Discord ? What is special with this service ? Well, Discord provides you the reliability, something which you cannot get from other tools and services. So that you can even hangout and chat with your friends while playing Games and or doing some other work.
You can use both text as well as video channels to connect with your friends, colleagues and loved ones. But to create channels you need to have a discord server. So basically the first thing you need to do is to create a discord server. Here we will see how to create a discord server in just 3 easy steps.

How to Create a Discord Server in Just 3 Easy Steps
Also Read: Understanding Deep Links in Flutter [Explained with examples]
Step 1: Prerequisites
As a prerequisite to create a discord server, you don't required much. You just need a System with active Internet connection and your favorite browser installed. So that you can easily visit Discord official website to create your Server.
Step 2: Sign Up
You can create a discord server either through app or through web browser. If you are planning to do it through app then you need to first download the app in your local system and then do it or you can simply do it through browser. Here we will create a discord server through browser by following the steps from scratch i.e starting from Sign up to create an account. For that you need to visit Discord official website and click on Sign up by scrolling down to the bottom right hand side.
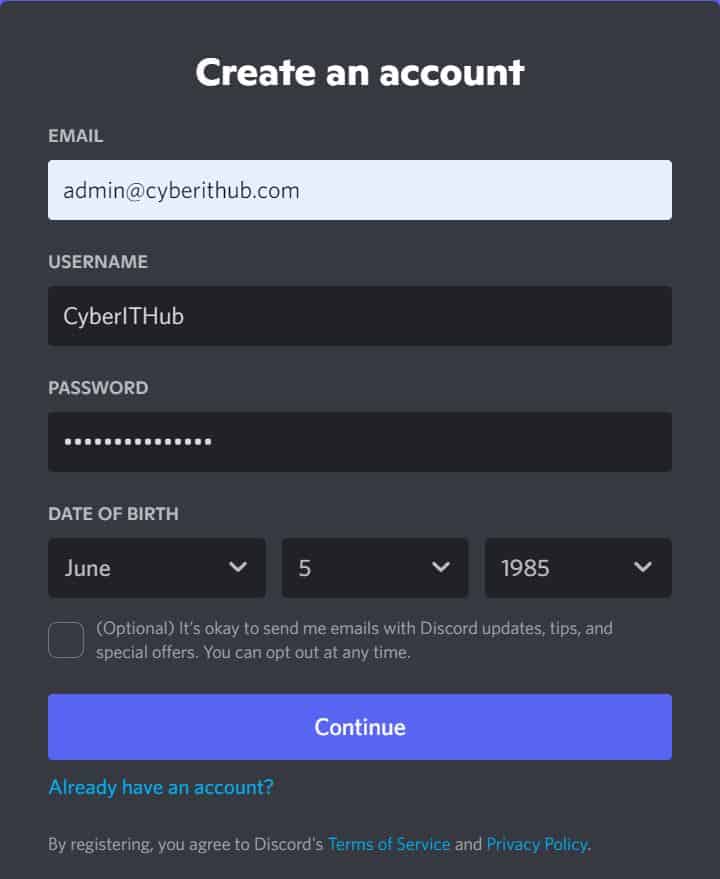
Fill below details to create your account and click on Continue.
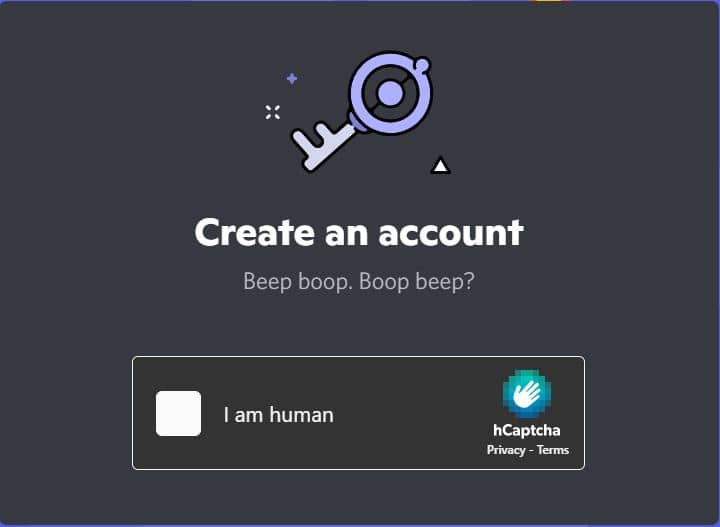
Check on option I am human and verify the Captcha given.
Step 3: Create a Discord Server
You will be able to login successfully and the first thing that you will be asked is to create a discord server as shown below. You will see plenty of options to create your first discord server. You can either create your own server or start from a given template. You can also join a server through an invite.
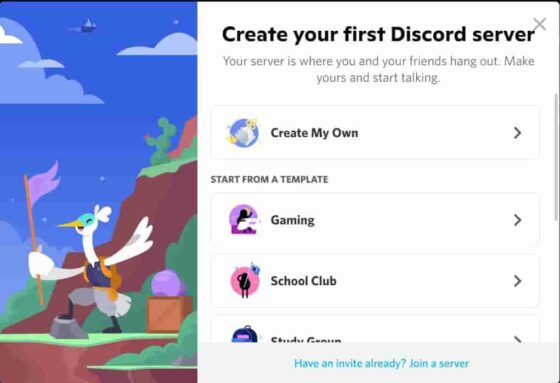
For the moment, we will choose Create My Own option to create a discord server by our own. Once selected, you will be asked to tell more about your server. You can either choose to answer the question or click on skip this question to avoid answering the questions and directly jump on creating the server.
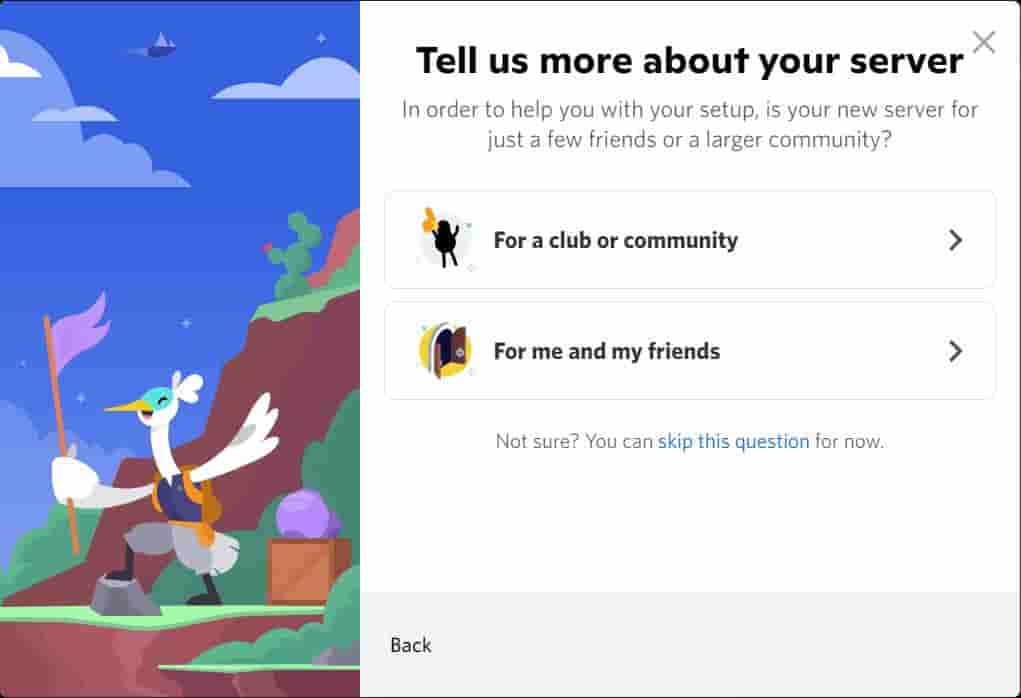
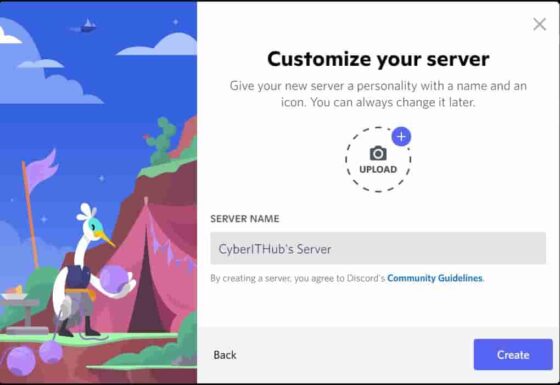
Once you skip the question, you will be next asked to provide the Server name. Once provided, click on Create to proceed.
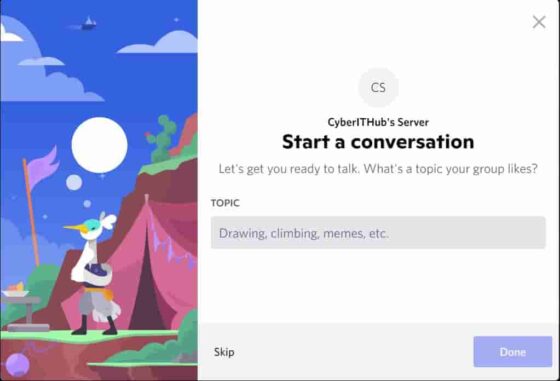
You will then be asked to provide a topic to start the conversation. You can either provide the topic and click on Done or you can just click on skip for now and proceed creating your Server.
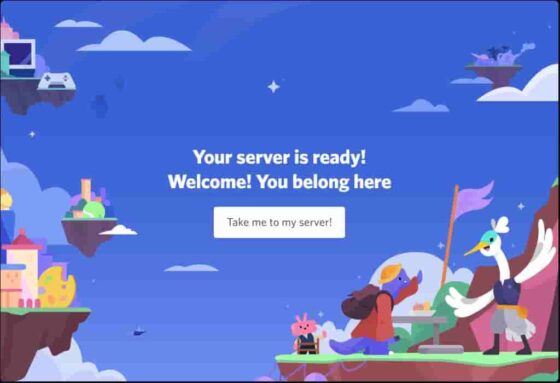
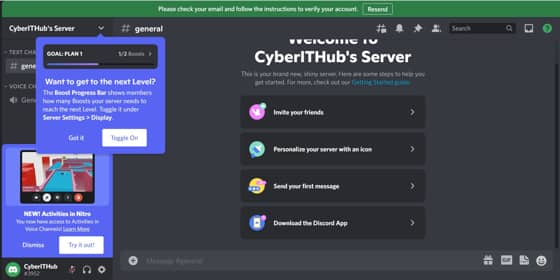
You will see that the server will be successfully created as shown below.
First time when you visit your created server then it should look like below.
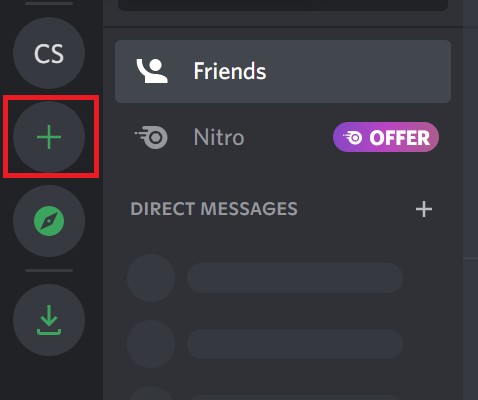
Alternatively, if you already have an account then you can directly go to the Dashboard and click on Add Server as highlighted below. Then you have to follow the same steps as you followed above to create a discord server.
You can also notice that after successfully creating a server, you will see a default General Text and Video Channel got created.
