Table of Contents
In this article, we will see how to install Cisco packet tracer in Windows 10. Cisco packet tracer is probably the most famous visual simulation tool used by Network Administrators, Analysts and Educators to simulate network design and architecture. But among all Students are the one who uses the most to practice Cisco certification examinations. Packet Tracer is developed by Cisco Systems as part of the Networking Academy. Anyone can download the software for free by just enrolling in of the Network Academy introductory courses.
Cisco Packet tracer is not just used for practicing build simple and complex networks but can also be easily integrated with IoT devices, Python code, or network automation. It is currently available for Windows, MacOS and Ubuntu based Systems. Here we will the steps to download and install packet tracer on Windows 10 System.
Important Features
- Wide range of Cisco routers and switches simulation supported
- Can be used for building Complex network design
- Network architecture can be easily visualized
- Practice of rack, stack, and cabling skills in the virtual lab can be easily done
- Integrate IoT devices, Python code, or network automation
- Unlimited number of devices can be simulated
- Almost all the networking protocols are supported
How to Download and Install Cisco Packet Tracer in Windows 10
Also Read: How to Freeze a Row in Excel Using 5 Easy Steps
Step 1: Prerequisites
a) You should have a running Windows 10 System.
b) You should have access to install software in your System.
c) You should have an active Internet in your System.
Step 2: View Courses
To download Cisco Packet Tracer, you need to enroll in one of the three self-paced Packet Tracer Courses. For that, you need to visit Network Academy official website and click on View courses as shown below.
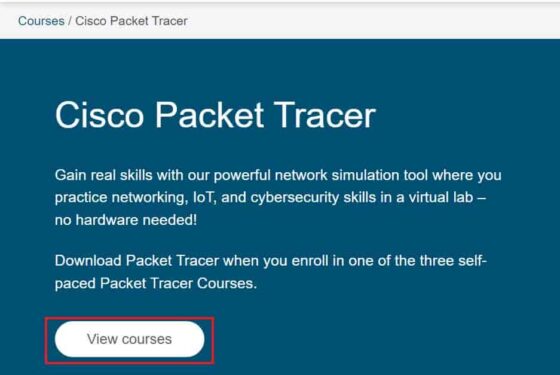
If pop-up is not blocked in your browser, then you will see a new window opened automatically that will redirect you to Skills For All website. If it is not opened then you need to click manually on Skills For All link as shown below.

Step 3: Enroll to the Course
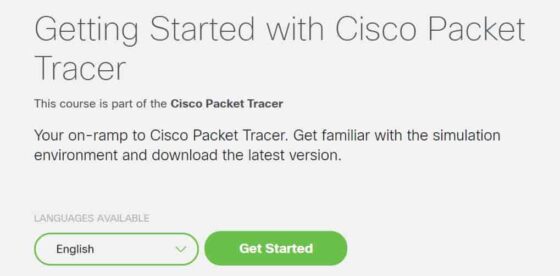
After getting redirected to below website, you will be asked to select your language. Once selected, scroll down a bit and you will see Getting Started with Cisco Packet Tracer link. You need to click on this link to enroll in short Cisco Packet Tracer course.

You need to again select your language and click on Get Started to enroll into the course.
Step 4: Sign Up
You need to login to be enrolled, so if already have an account then give your Email and Password to login. If you don't have then you need to sign up and create an account first.
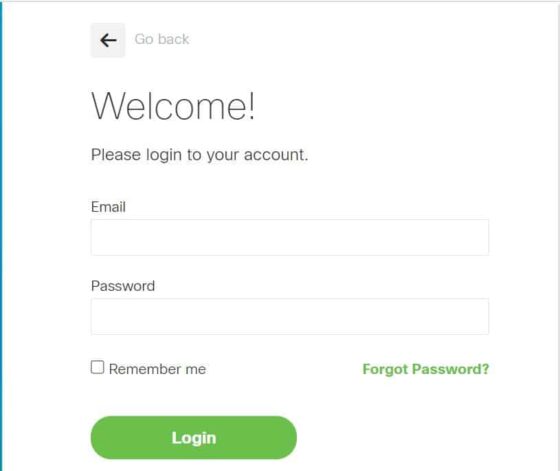
If you scroll down a little, Sign Up option will be visible as shown below. Click on it to create an account,

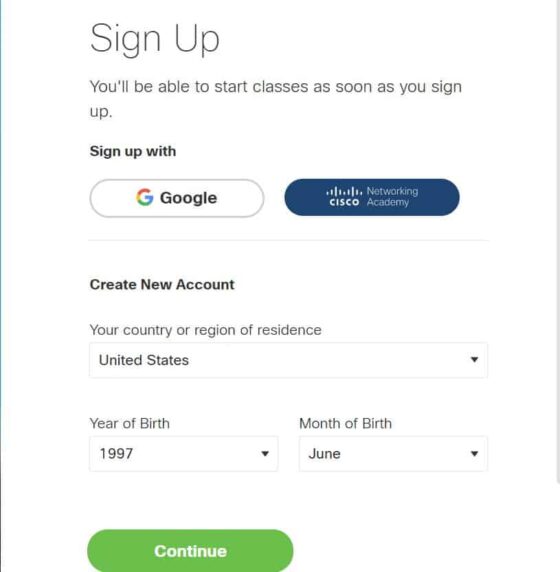
You can choose to sign up with your Google account or with your Networking Academy account. If not, then you can create a new account by providing your country name, year of birth and month of birth as shown below. Then click on Continue.
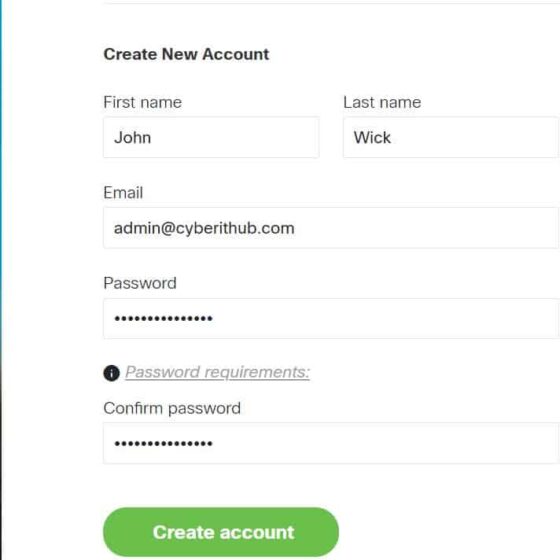
Next, you need to fill your First name, Last name, Email, Password and then confirm your password. Once filled, click on Create account as shown below.
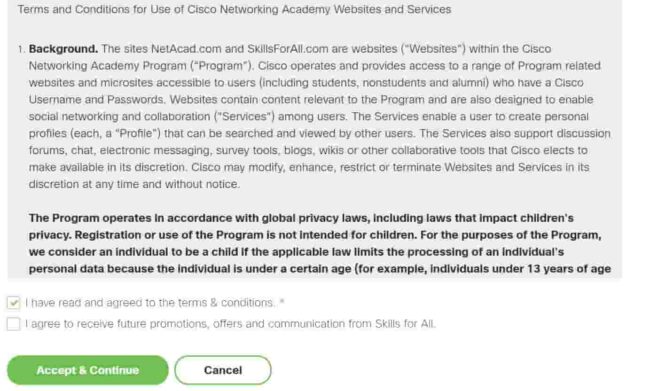
You will be asked to go through the Agreement and then check I have read and agreed to the terms & conditions option and click on Accept & Continue.
Step 5: Download Cisco Packet Tracer
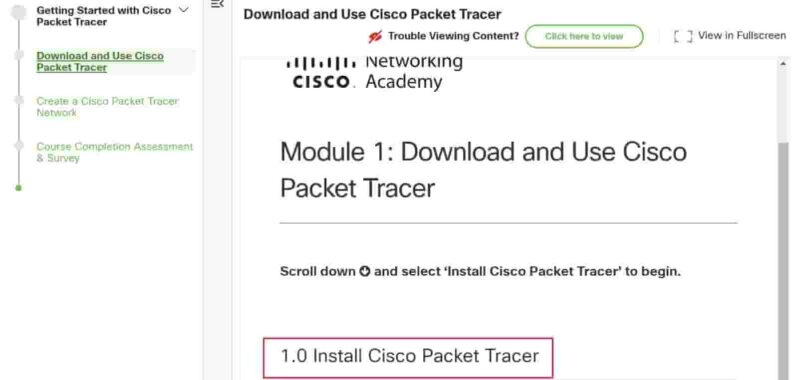
In the next window, when you scroll down a little, you will see an option Install Cisco Packet Tracer. Click on it to open the Packet Tracer download link.

In the next page, you will see the download link for MacOS, Ubuntu and Windows operating system along with the steps to install the software. Since in our case, we are installing for Windows so we will tap on Packet Tracer 8.2.0 Windows 64bit link as shown below.
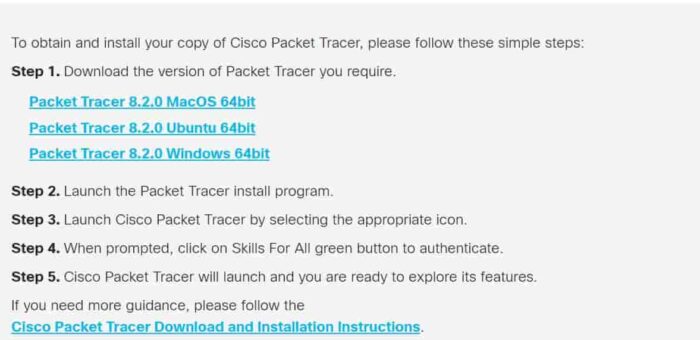
It will start downloading on your local system as shown below.

Step 6: Install Cisco Packet Tracer
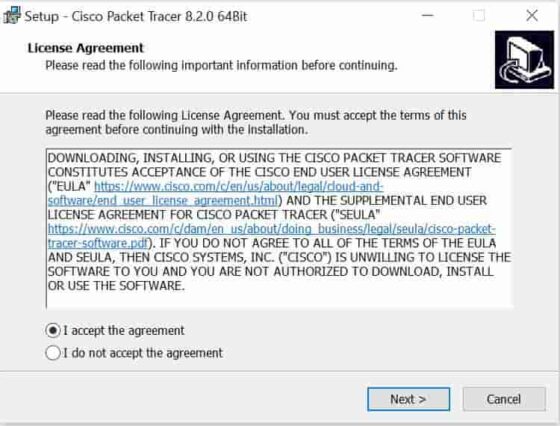
Once downloaded, you need to double click on packet tracer software to start the installation. You need to first go through the License Agreement and must accept the agreement terms to continue with the installation. So go ahead and check I accept the agreement checkbox and then Click Next.
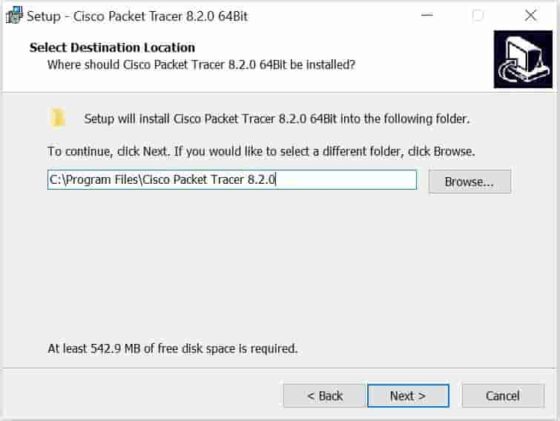
In the next window, you need to provide the destination folder location where you want to install the Cisco Packet Tracer. By default, it will install under C:\Program Files folder location as shown below. Then click on Next.
Here you need to select the folder location to place the program's shortcut. You can choose different location as per your requirement. For now, we are going to use the default Cisco Packet Tracer folder as shown below. Then Click on Next.
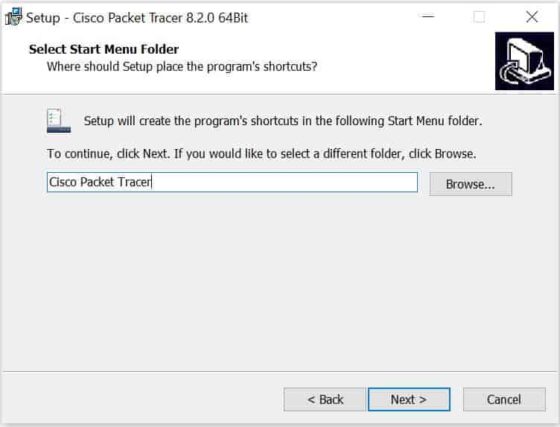
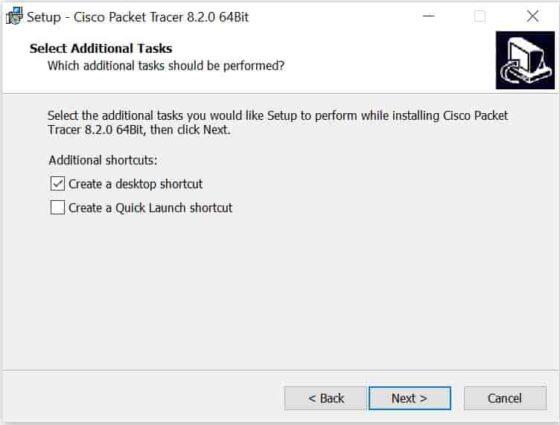
If there is any additional task you would like to setup then choose your option below and click on Next.
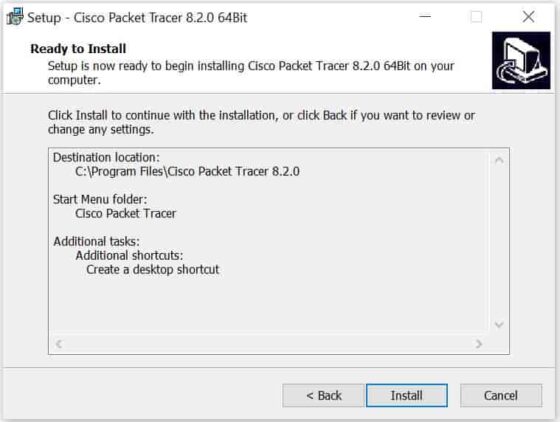
Finally you will see the summary of all the setup tasks going to be performed as shown below. If everything looks fine then Click on Install.
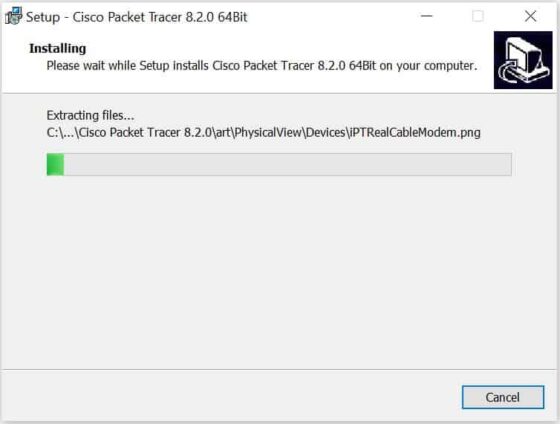
The installation will start and the progress can be tracked on below screen.
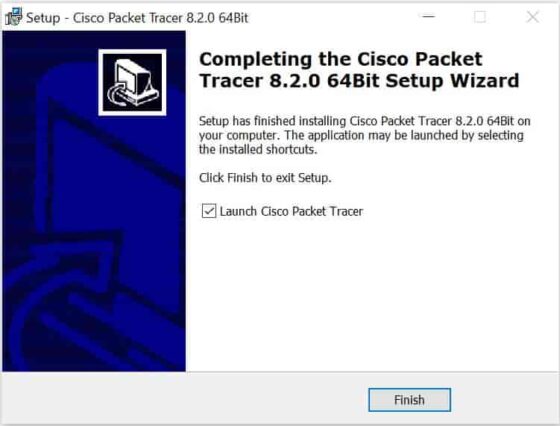
Once the application is successfully installed, you will see below completing setup wizard with Launch Cisco Packet Tracer checkbox selected. If you would like to launch the packet tracer then leave the checkbox selected. Otherwise, uncheck it and then click on Finish.
Step 7: Launch Cisco Packet Tracer
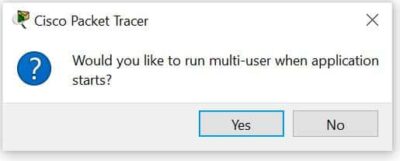
Immediately after launching the packet tracer, you will see below dialog box asking to start the application in multi-user mode. You can choose the appropriate option as per your requirement. Here we would be running multi-user so we are clicking on Yes.
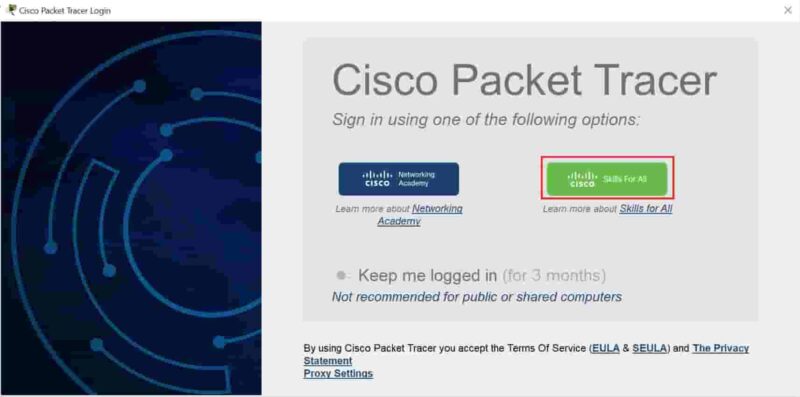
In the next step, you will be asked to Sign in using either Networking Academy account or Skills for All account to keep the application running. Since we have created account on Skills for All so we will click on this option to Sign in.
If you are already signed in, then probably it won't ask you to enter the user and password again, it will directly show you below successfully logged in to Cisco Packet Tracer message or else you need to provide your user name and password again which you have created in the earlier step.

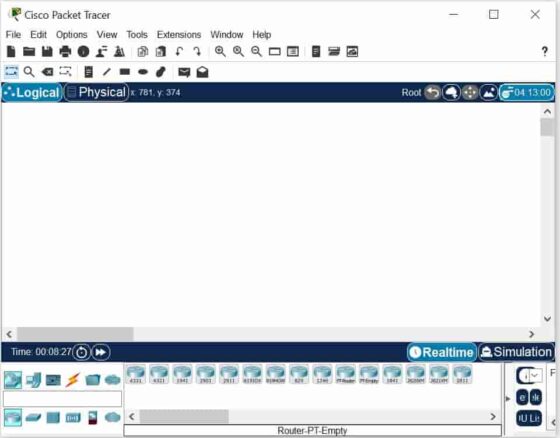
You can close the above browser tab and simultaneously you will see below Cisco Packet Tracer application launched successfully. This confirms your installation and launching of application is now completed. You are ready to start your work.
