Table of Contents
In this article, we will see how to install Eclipse IDE on Ubuntu 20.04 LTS (Focal Fossa). Eclipse IDE is probably one of the top most choice for Java Developers across the globe as it has all the plugins and features required to develop both simple as well as complex applications with ease. It is a free and open source platform that helps developer in creating innovative applications. Eclipse IDE provides some of the best security features such as enforced use of https protocol, PGP Key Revocation Handling, Tracking trusted hosts and Untrusted Artifact Handling.
It provides the support for latest version of TypeScript and Angular. Since Eclipse IDE is a community based platform, it is powered by number of individual contributors across the world. It is also very easy to install and use in almost all the famous operating systems such as Windows, Linux and Mac. Here we will see the steps to install eclipse IDE on Ubuntu 20.04 LTS based systems.
How to Install Eclipse IDE on Ubuntu 20.04 LTS (Focal Fossa)
Also Read: How to Install mail command on Ubuntu 20.04 LTS (Focal Fossa)
There are multiple ways to install Eclipse IDE on Ubuntu 20.04 LTS system but here we will look into two most popular ways which are frequently used. You can choose to install the IDE by using any of the below methods depending on your need.
Method 1: Using Installer
First method is the most preferred one in which you can download and install the latest Eclipse IDE from official website. Below are the steps mentioned in detail.
Step 1: Prerequisites
a) You should have a running Ubuntu 20.04 LTS System.
b) You should have sudo or root access to run privileged commands.
c) You should have apt and wget utility available in your System.
d) You should have tar utility available in your System.
Step 2: Update Your Server
Before installing any new packages, it is highly recommended to pull all the latest updates from default ubuntu repo and install it in your system by using sudo apt update && sudo apt upgrade command as you can see below.
cyberithub@ubuntu:~$ sudo apt update && sudo apt upgrade
[sudo] password for cyberithub:
Hit:1 http://in.archive.ubuntu.com/ubuntu focal InRelease
Hit:2 http://ppa.launchpad.net/flatpak/stable/ubuntu focal InRelease
Hit:3 https://dl.winehq.org/wine-builds/ubuntu focal InRelease
Hit:4 https://dl.google.com/linux/chrome/deb stable InRelease
Get:5 http://in.archive.ubuntu.com/ubuntu focal-updates InRelease [114 kB]
Get:6 http://security.ubuntu.com/ubuntu focal-security InRelease [114 kB]
Hit:7 http://ppa.launchpad.net/gencfsm/ppa/ubuntu focal InRelease
Hit:8 https://download.sublimetext.com apt/stable/ InRelease
Hit:9 http://ppa.launchpad.net/juju/stable/ubuntu focal InRelease
Get:10 http://in.archive.ubuntu.com/ubuntu focal-backports InRelease [108 kB]
Hit:11 http://ppa.launchpad.net/libreoffice/ppa/ubuntu focal InRelease
Hit:12 http://ppa.launchpad.net/mojo-maintainers/ppa/ubuntu focal InRelease
...............................................................
Step 3: Download Installer
You need to go to eclipse official website and download the latest version using wget utility as shown below. This will download the tar.gz file in current working directory.
cyberithub@ubuntu:~$ wget https://mirrors.neusoft.edu.cn/eclipse/oomph/epp/2023-06/R/eclipse-inst-jre-linux64.tar.gz
--2023-08-07 22:42:48-- https://mirrors.neusoft.edu.cn/eclipse/oomph/epp/2023-06/R/eclipse-inst-jre-linux64.tar.gz
Resolving mirrors.neusoft.edu.cn (mirrors.neusoft.edu.cn)... 219.216.128.25, 2001:da8:a807::25
Connecting to mirrors.neusoft.edu.cn (mirrors.neusoft.edu.cn)|219.216.128.25|:443... connected.
HTTP request sent, awaiting response... 200 OK
Length: 106883659 (102M) [application/gzip]
Saving to: ‘eclipse-inst-jre-linux64.tar.gz’

eclipse-inst-jre-linux64.tar.gz 100%[============================================================================>] 101.93M 684KB/s in 2m 9s

2023-08-07 22:44:59 (806 KB/s) - ‘eclipse-inst-jre-linux64.tar.gz’ saved [106883659/106883659]
Step 4: Extract tar file
After downloading the installer file, you need to extract it by using tar -xvf eclipse-inst-jre-linux64.tar.gz command as shown below.
cyberithub@ubuntu:~$ tar -xvf eclipse-inst-jre-linux64.tar.gz
eclipse-installer/
eclipse-installer/readme/
eclipse-installer/readme/readme_eclipse.html
eclipse-installer/features/
eclipse-installer/features/org.eclipse.emf.edit.ui_2.25.0.v20230211-1150/
eclipse-installer/features/org.eclipse.emf.edit.ui_2.25.0.v20230211-1150/META-INF/
eclipse-installer/features/org.eclipse.emf.edit.ui_2.25.0.v20230211-1150/META-INF/ECLIPSE_.SF
eclipse-installer/features/org.eclipse.emf.edit.ui_2.25.0.v20230211-1150/META-INF/MANIFEST.MF
eclipse-installer/features/org.eclipse.emf.edit.ui_2.25.0.v20230211-1150/META-INF/ECLIPSE_.RSA
eclipse-installer/features/org.eclipse.emf.edit.ui_2.25.0.v20230211-1150/feature.properties
eclipse-installer/features/org.eclipse.emf.edit.ui_2.25.0.v20230211-1150/license.html
eclipse-installer/features/org.eclipse.emf.edit.ui_2.25.0.v20230211-1150/feature.xml
eclipse-installer/features/org.eclipse.emf.edit.ui_2.25.0.v20230211-1150/epl-2.0.html
eclipse-installer/features/org.eclipse.oomph.p2_1.26.0.v20230523-0636/
.........................................................
Step 5: Run Installer
After extracting the package, you need to switch to eclipse-installer directory using cd eclipse-installer/ command as shown below.
cyberithub@ubuntu:~$ cd eclipse-installer/
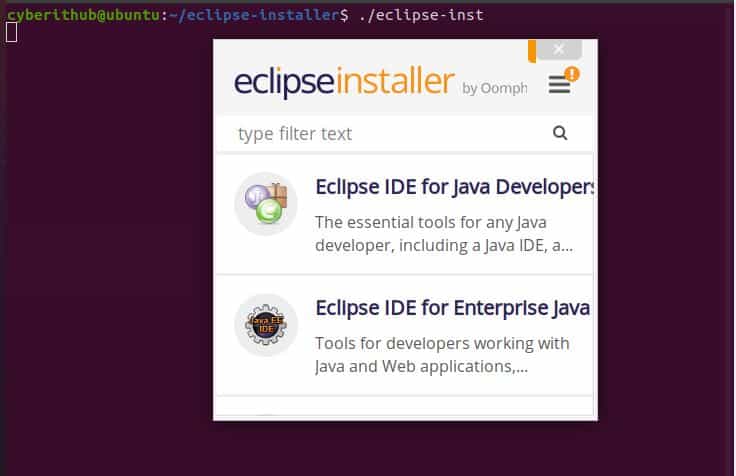
Then you need to run the installer by using ./eclipse-inst as shown below. It will ask you to select from below given options. Here we are choosing Eclipse IDE for Java Developers.
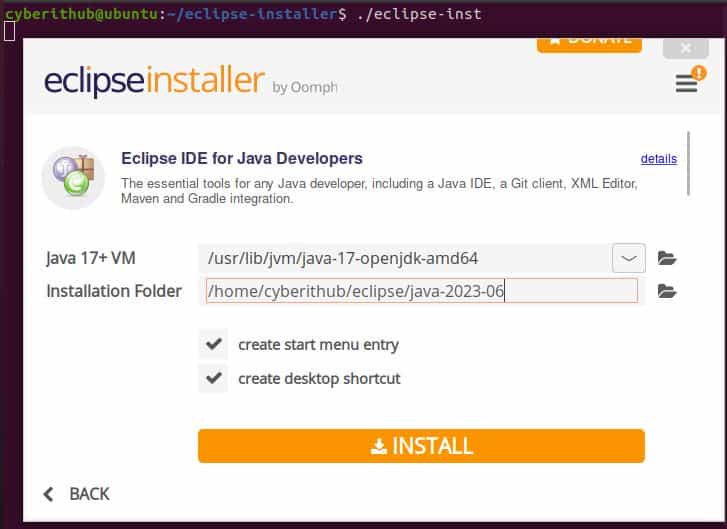
Next it will ask you to set the installation folder as you can see below. By default, it will select the user's home directory path to install. If you want to change the installation path then you can browse it to that location and then click on INSTALL.
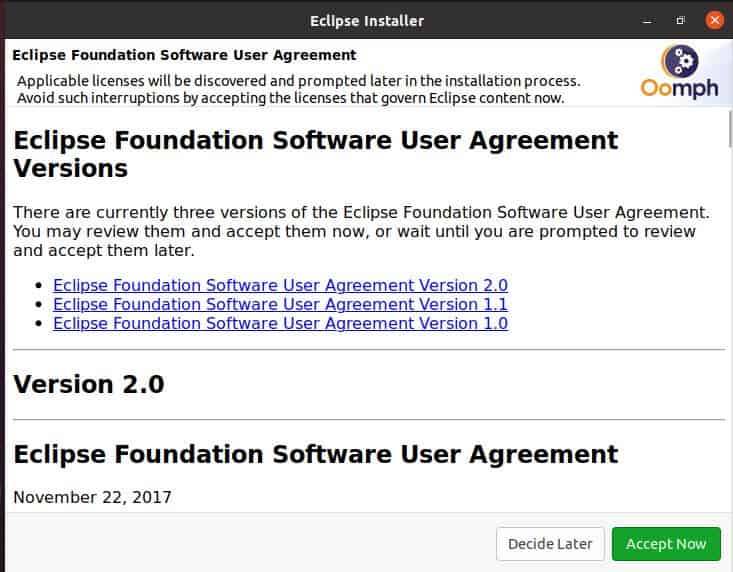
Here you have to carefully go through the agreement and once agreed with all the points mentioned, then click on Accept Now to proceed.
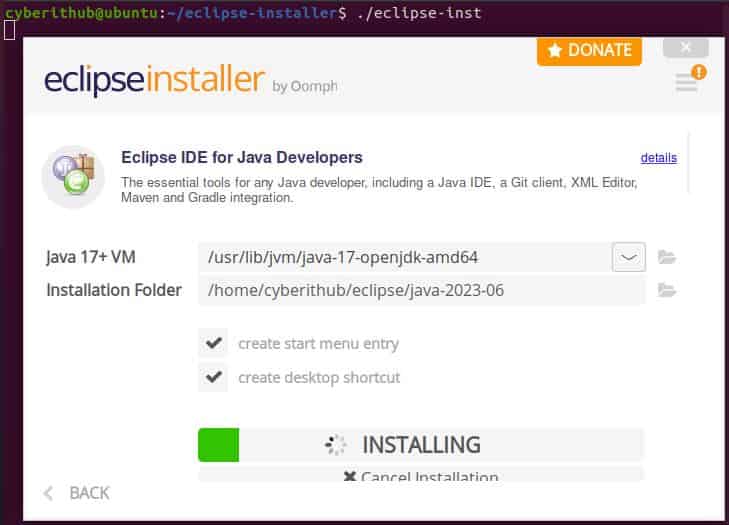
It will start installing the package as shown below.
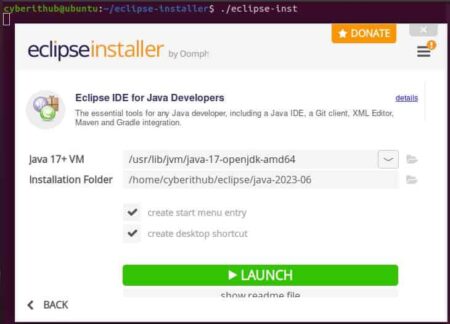
After a while, installation will be completed as shown below. To launch the application, click on LAUNCH.
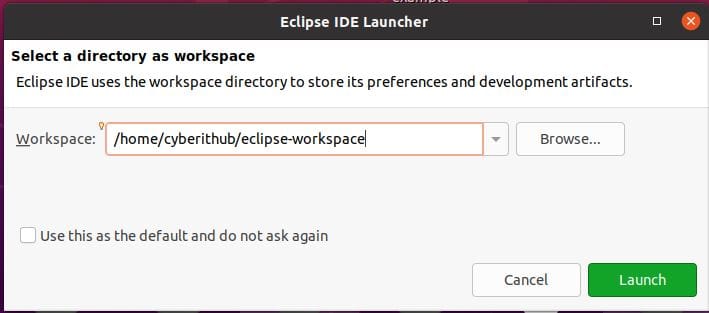
It will ask you to select the workspace path as you can see below. By default, it will select the home path. But if you would like to change the workspace path then browse to the path and then click on Launch.

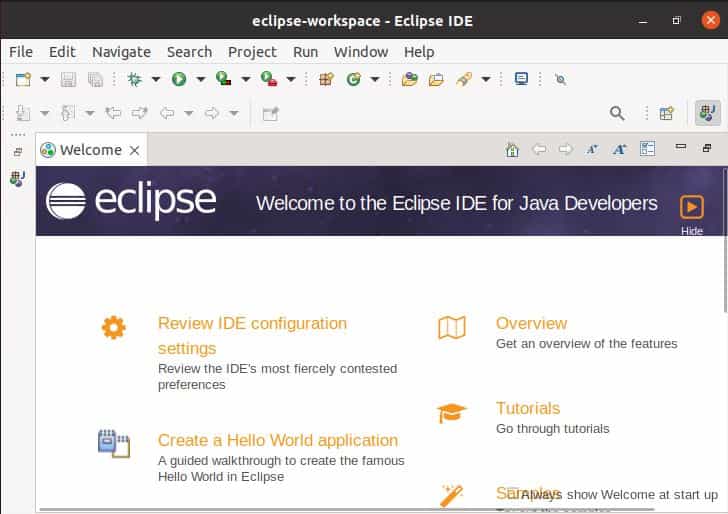
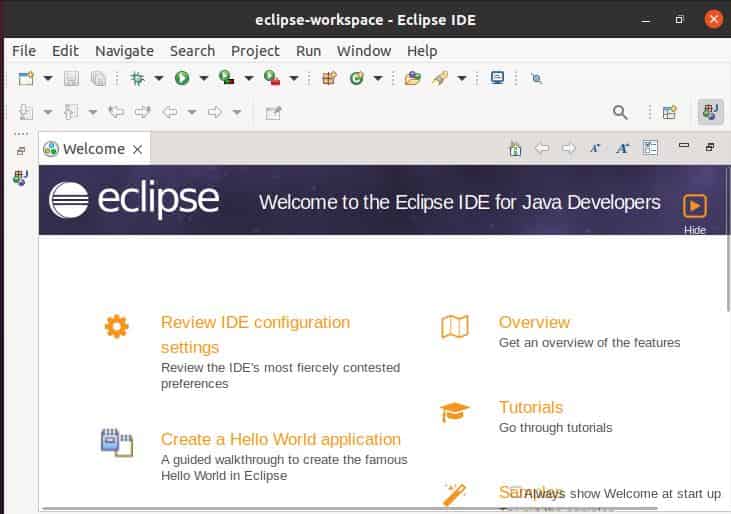
If everything goes well then the application will be launched as shown below.
Step 6: Uninstall Eclipse
Once you are done using Eclipse IDE in your System, you can uninstall it by simply removing the eclipse directory from user's home location using rm -rf eclipse command as shown below.
cyberithub@ubuntu:~/eclipse-installer$ cd ~
cyberithub@ubuntu:~$ rm -rf eclipse
Method 2: Using Snap
Another classical method that you can use to install eclipse IDE is through snap utility. In this method, eclipse IDE will be installed as snap package from Snap store by using sudo snap install eclipse --classic command as shown below.
cyberithub@ubuntu:~$ sudo snap install eclipse --classic
[sudo] password for cyberithub:
eclipse 2022-12 from Snapcrafters* installed
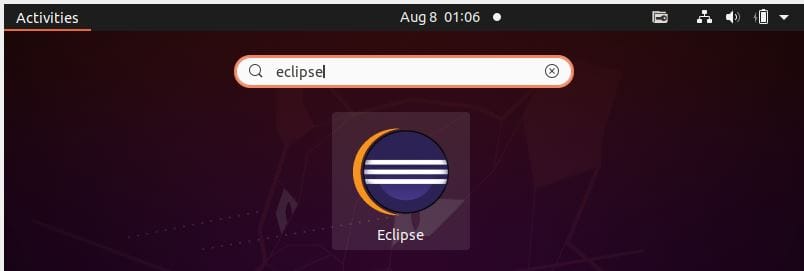
After installing the IDE, you can go to Desktop and search eclipse in the search bar under Activities as shown below. Once it appears tap on it to open.
You need to provide the workspace path and then click on Launch.
First time when you launch the application, it should show like below. Now you can start using the IDE.
Once you are done with IDE, you can choose to uninstall it from your system by using sudo snap remove eclipse command as shown below.
cyberithub@ubuntu:~$ sudo snap remove eclipse
[sudo] password for cyberithub:
eclipse removed
