Table of Contents
In this article, we will see how to install Microsoft InfoPath 2013 on Windows 10. Microsoft InfoPath 2013 is one of the best tool for those advanced business users and developers who does not want to write code to design complex electronic forms. It completely eliminates the overhead of writing code and helps streamline the organization entire business processes. Using InfoPath 2013, developers can create advanced forms for departmental and enterprise business processes, including composite applications and workflow sequences. It is also very easy to download and install on supported Windows System. Here we will see the steps to download and install Microsoft InfoPath 2013 on Windows 10 based systems.

How to Install Microsoft InfoPath 2013 on Windows 10
Also Read: How to Install Tera Term on Windows 10 Using 4 Simple Steps
Step 1: Prerequisites
a) You should have a running Windows 10 System.
b) You should have permission to download software from official website.
c) You should have permission to install software in your System.
Step 2: Download InfoPath 2013
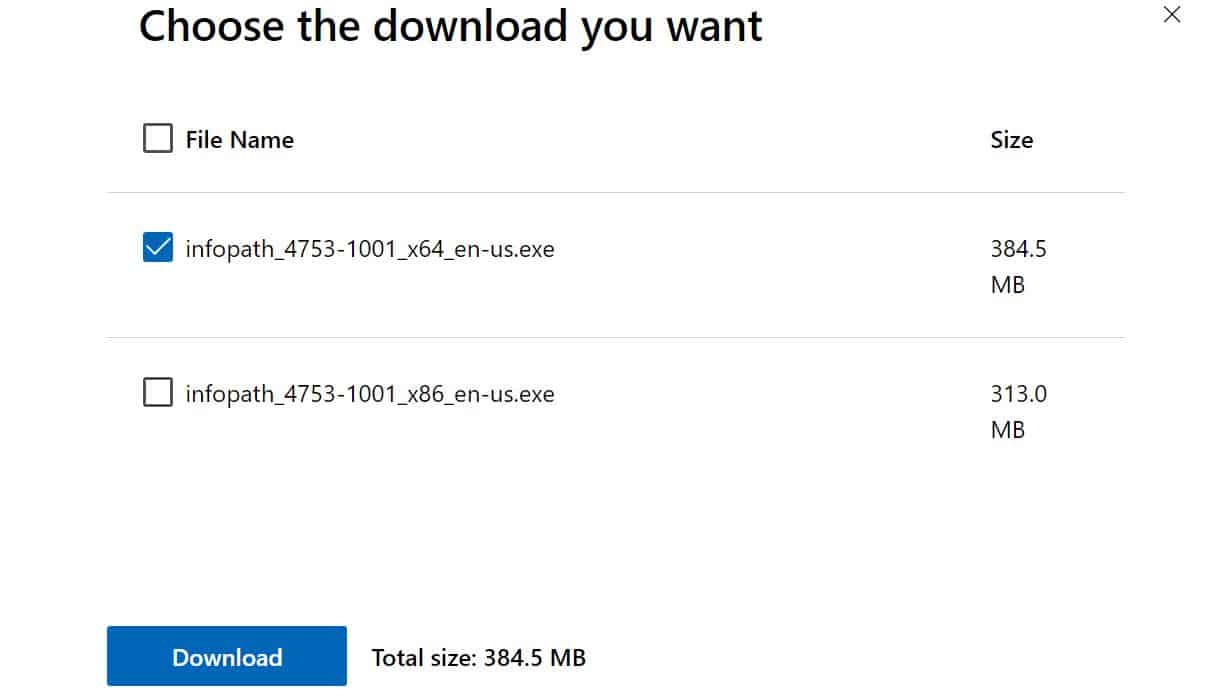
You have to visit Microsoft official website to download InfoPath 2013. You need to select language and click on Download.

You need to select the right file according to your system architecture. For example, I am having 64-bit system so I am selecting infopath_4753-1001_x64_en-us.exe file and then clicked on Download. It starts downloading in my local download folder. If you are using 32-bit architecture, then you have to select infopath_4753-1001_x86_en-us.exe to download.
Step 3: Install InfoPath 2013
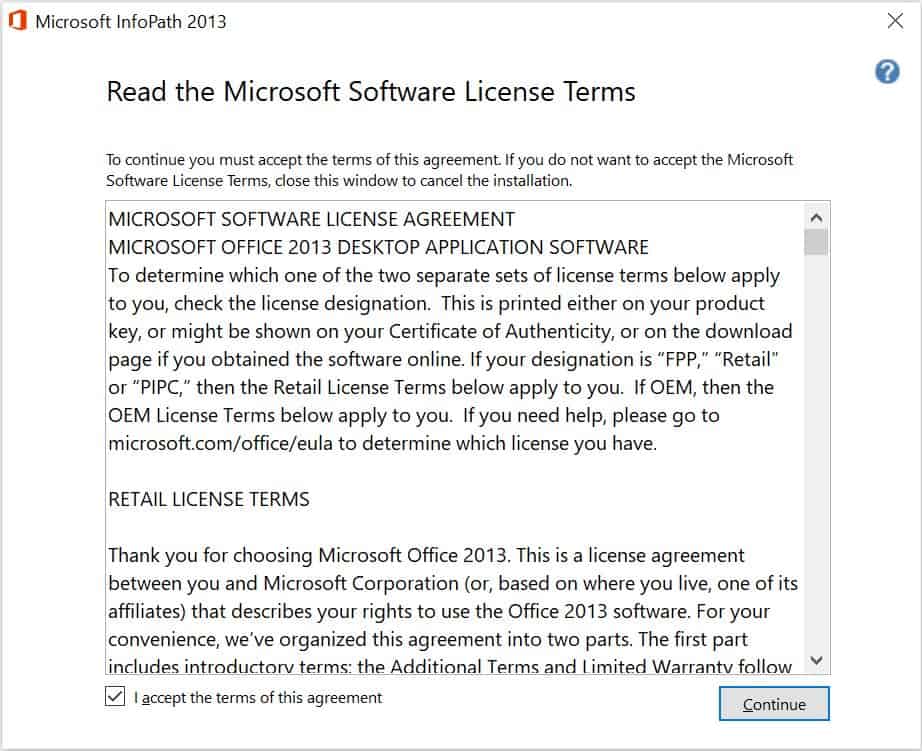
After downloading the file, you need to double click on it to start the installation. It should first open below License Agreement Window where you need to go through all terms and conditions and click on I accept the terms of this agreement checkbox to Continue.
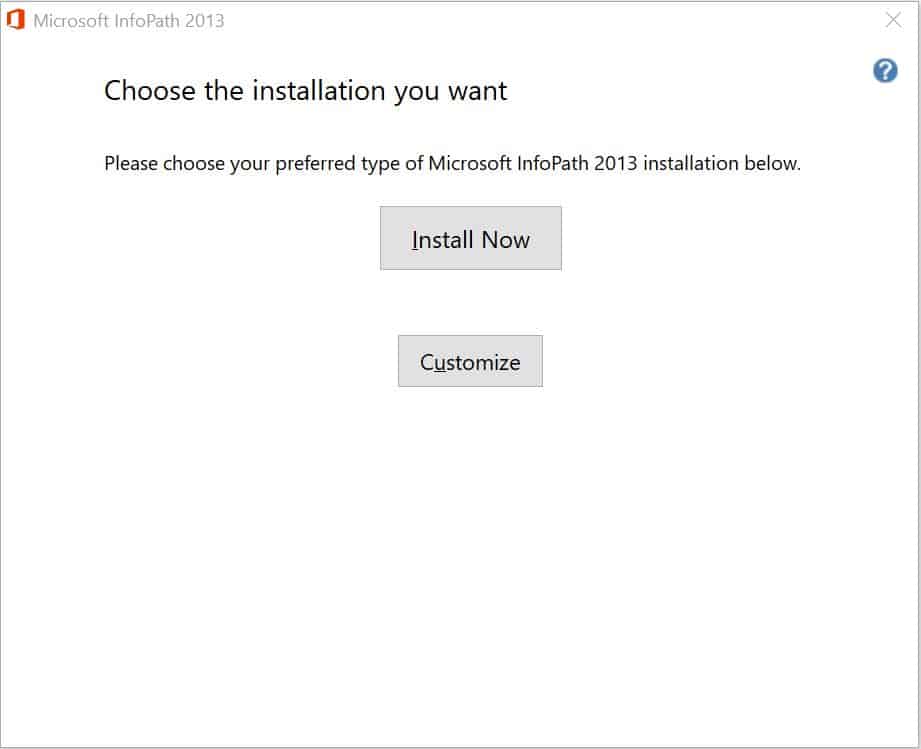
Then you need to choose your preferred installation type. You can either Customize your installation or choose Install Now to go with the default installation. For now, we are selecting Install Now.
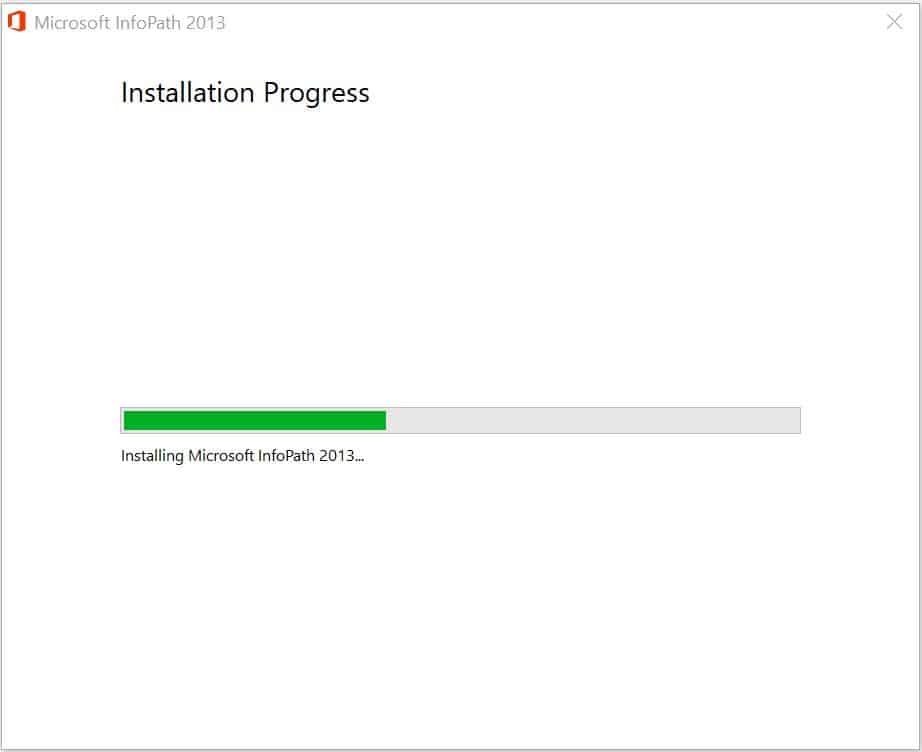
You will see that installation will start and should progress like below. Wait until installation finishes out.
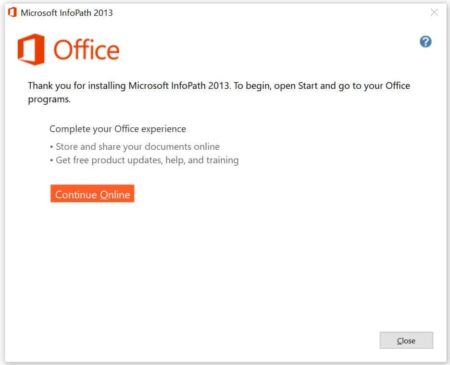
After a while, you will see below installation completion window. This confirms installation has been successful and now you can close this window.
Step 4: Launch InfoPath Designer 2013
Now that Microsoft InfoPath 2013 installed successfully, you can launch InfoPath Designer 2013 by searching it in your Desktop bottom left corner search box. Once it appears, click on it to open.

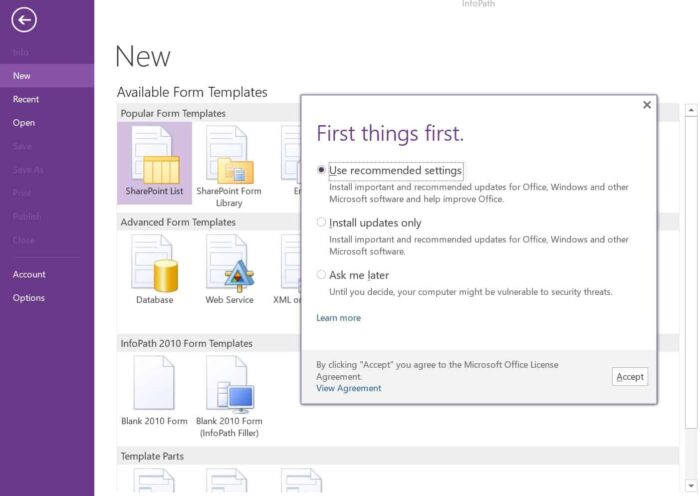
You might see below window where it will ask you to select appropriate setting before continuing further. Here we are choosing Use recommended settings and then clicked on Accept. You can now proceed with the designing and creation of forms as required for your work.
