Table of Contents
In this article, we will see how to kill a zombie or unresponsive job in Jenkins. Many times you might have observed some Jenkins jobs keeps on running even after termination of the build process or it may get stuck or sometimes abruptly terminated, often causing problem in CI/CD (Continuous Integration/Continuous Delivery) pipeline. This can happen due to many reasons such as due to network issue between Jenkins master and its node/slaves/agents, due to resource exhaustion where Jenkins might go out of memory etc. This can also happen due to some external reasons such as due to plugin errors, external dependencies etc.
What is a Zombie Job
In Jenkins, a zombie job is a build process detached from the main job which continues to run even though the main job is terminated. This can happen due to certain reasons such as sudden termination of Jenkins master or slave agents, might be because of network disconnection or system crash. It continues to occupy system resources which pose a threat to other critical tasks. These kind of jobs can be identified by looking into the system processes list.
What is an Unresponsive Job
An unresponsive job might not be detached from the main Jenkins job. It's just fails to make any progress. Jobs can go unresponsive due to many reasons. For example, if a job is waiting for some resources which is not available then it would wait forever to complete resulting in an unresponsive job. Similarly, if a job faces any deadlock or if it has any scripts which has infinite loops then it will continue to be in that state without showing any progress in the logs. Sometimes it is very difficult to find these kind of jobs.
How to Kill a Zombie or Unresponsive Job in Jenkins
Also Read: How to Download and Install Jenkins on Windows 10
If you are also facing problem of zombie or unresponsive job in Jenkins then you can follow below steps to kill those kind of jobs.
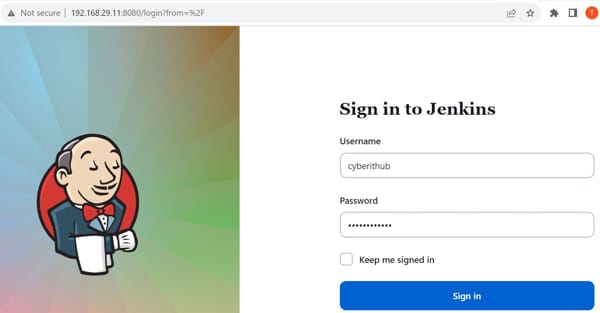
Step 1: Login to Jenkins
Login to your Jenkins using Username and Password as shown below.
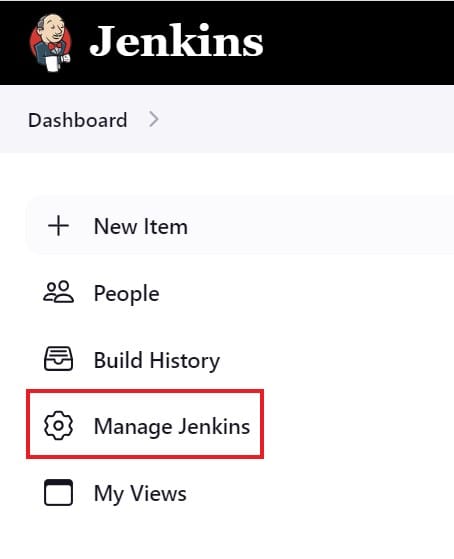
Step 2: Go to Manage Jenkins
After successful login, navigate to Manage Jenkins option on the left menu as shown below.
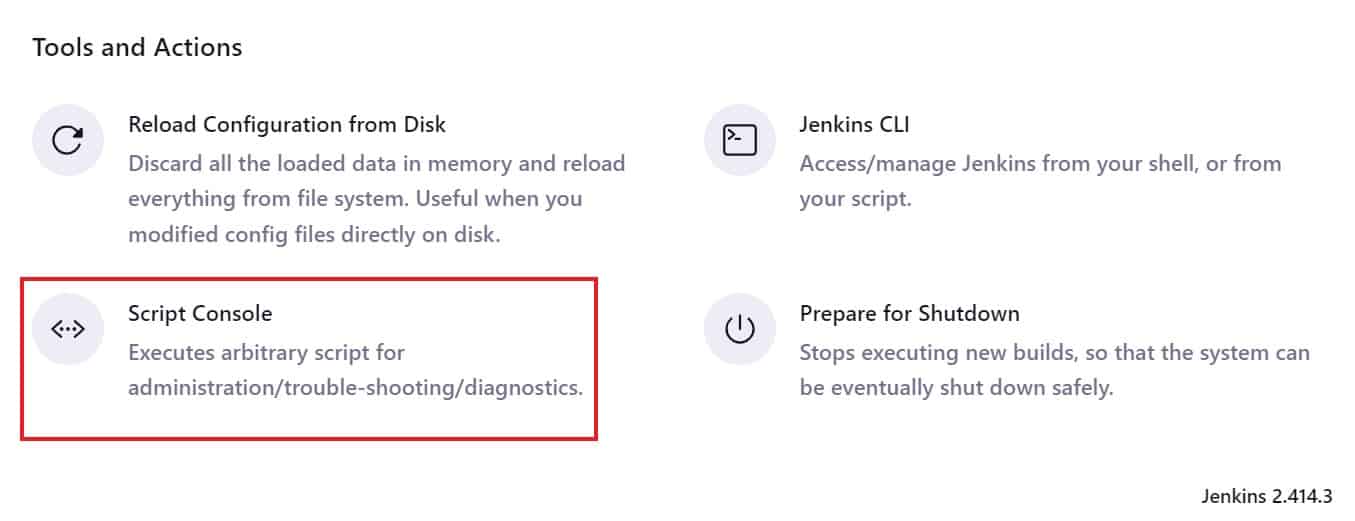
Step 3: Go to Script Console
Then scroll down and click on Script Console section as shown below.
Step 4: Kill the Job
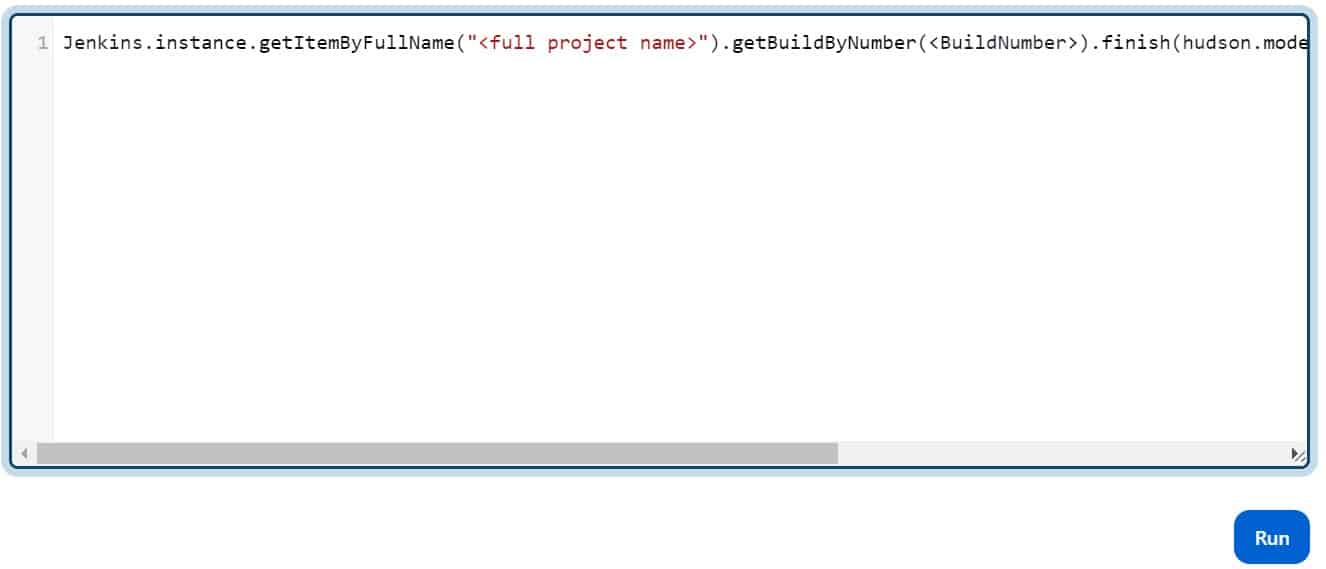
In the script console section, you have to enter below snippet and replace two items - JobName and BuildNumber.
Jenkins.instance.getItemByFullName("<full project name>").getBuildByNumber(<BuildNumber>).finish(hudson.model.Result.ABORTED, new java.io.IOException("Aborting build"));
So in the script console, it should look like below. Then click on Run to kill the job.
Step 5: Kill the Executor Thread
Sometimes it is possible that even after killing the job, executor thread will still be running. In that case, you need to find out the executor threadName by going to the Jenkins threadDump. You can also list running threads using below code:-
Thread.getAllStackTraces().keySet().each() {
  t -> println(t.getName());
}
One you have identified the thread, you can run below code in the script console to kill the thread.
Thread.getAllStackTraces().keySet().each() {
  t->
   if (t.getName().equals()) {
      println("Killing" + t.getName());
      t.stop();
   }
}
On the output, you should see something like "Killing xxxxxxx (thread name)" message. This confirms that the zombie or unresponsive process is now successfully killed.
