Table of Contents
In this article, I will take you through 17 Popular Screen command examples which can be handy in managing multiple terminal sessions. Screen utility is a GNU Project works on Linux based operating system as terminal multiplexer. Sometimes you might have faced a situation where you are running some important process like database backup process and suddenly your terminal session got terminated due to network issue or due to some unknown accident. This might create a big problem for you.
So to handle this kind of issue, it is always recommended to run the process on a separate session so that it cannot be terminated with the end of terminal session. While there are other methods to run processes in a separate session but here we will focus based on screen utility. We will see some real time examples in below section to understand more about its usage.
Linux Screen Command Examples to Manage Terminal Sessions
Also Read: How to Install JUnit on Ubuntu 20.04 in 4 Practical Steps
Example 1: How to Check Screen Command Version
If you want to check the version of screen command then you need to use screen -v command as shown below. Here current screen version is 4.01.
[root@localhost ~]# screen -v
Screen version 4.01.00devel (GNU) 2-May-06
Example 2: How to Start Screen session using screen command
You can simply use screen command to start a screen session as shown below. This will create a new terminal inside current running terminal. You can use exit command to come out of that screen terminal if you don't want to use it.
[root@localhost ~]# screen
Example 3: How to Start Screen Session with Output Logging On
If you want to log your output of screen session then you need to use -L option along with screen command as shown below. Here we creating a session called utilization and turning on the output logging using screen -L -S utilization command.
[root@localhost ~]# screen -L -S utilization
-L : tells screen to turn on automatic output logging for the windows. More on screen Man Page.
-S : When creating a new session, this option can be used to specify a meaningful name for the session.
Example 4: How to Detach the current Screen session using Ctrl+d
Let's say if you are running your screen session and you need to run some other important command then you can detach your screen session from current terminal session. You need to press Ctrl + d to detach from the Screen.
[detached from 15249.utilization]
[root@localhost ~]#
Example 5: How to List the currently running Screen session
If you want to check all active screen session then you need to use screen -ls command as shown below. As of now we have only one screen session running.
[root@localhost ~]# screen -ls
There is a screen on:
15249.utilization (Detached)
1 Socket in /var/run/screen/S-root.
Example 6: How to Reattach the Screen Session
If you want to reattach your detached session then you need to use -r option with screen command as shown below. Here we are reattaching 15249.utilization session using screen -r 15249.utilization command as shown below.
[root@localhost ~]# screen -r 15249.utilization
Tasks: 109 total, 1 running, 108 sleeping, 0 stopped, 0 zombie
%Cpu(s): 6.2 us, 0.0 sy, 0.0 ni, 93.8 id, 0.0 wa, 0.0 hi, 0.0 si, 0.0 st
KiB Mem : 2865128 total, 2499480 free, 192100 used, 173548 buff/cache
KiB Swap: 2301944 total, 2301944 free, 0 used. 2508328 avail Mem
Change delay from 3.0 to
PID   USER PR NI VIRT RES SHR S %CPU %MEM TIME+ COMMAND
15259 root 20 0 162156 2184 1536 R 12.5 0.1 0:00.02 top
1     root 20 0 125636 4116 2596 S 0.0 0.1 0:01.43 systemd
2     root 20 0 0 0 0 S 0.0 0.0 0:00.00 kthreadd
4     root 0 -20 0 0 0 S 0.0 0.0 0:00.00 kworker/0:0H
6     root 20 0 0 0 0 S 0.0 0.0 0:00.57 ksoftirqd/0
7     root rt 0 0 0 0 S 0.0 0.0 0:00.00 migration/0
8     root 20 0 0 0 0 S 0.0 0.0 0:00.00 rcu_bh
9     root 20 0 0 0 0 S 0.0 0.0 0:00.96 rcu_sched
10    root 0 -20 0 0 0 S 0.0 0.0 0:00.00 lru-add-drain
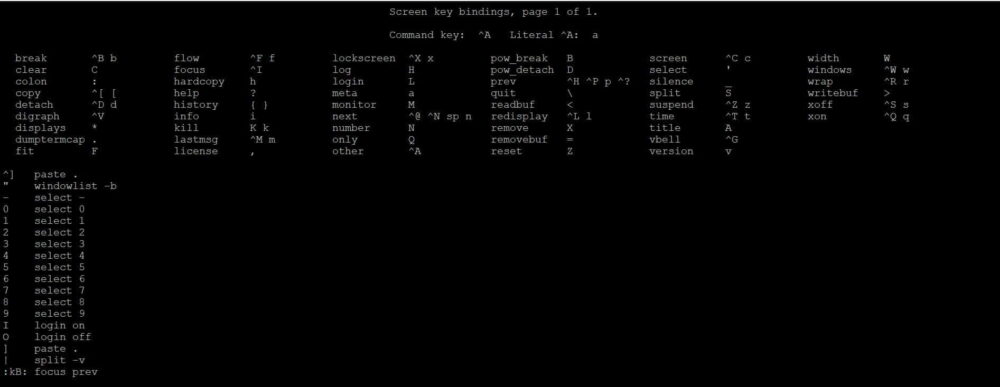
Example 7: How to Check All Screen Command Parameters
If you want to check all the Screen Parameters then you need to press Ctrl+a followed by ? as shown in below screenshot.
Example 8: How to Split Screen Vertically
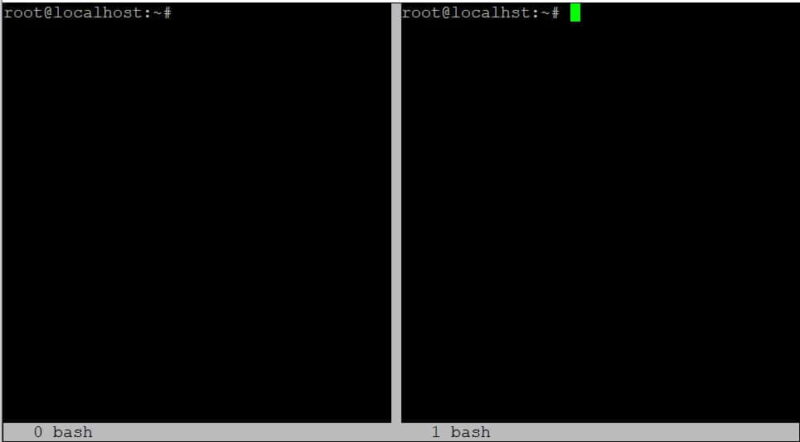
As per your convenience, you can split the terminal window either vertically or horizontally. If you want to split your window vertically, then you need to press Ctrl+a followed by | as shown in below screenshot. You can keep repeating the same process to get n number of vertical screens. There is no limit.
Example 9: How to Split Screen Horizontally
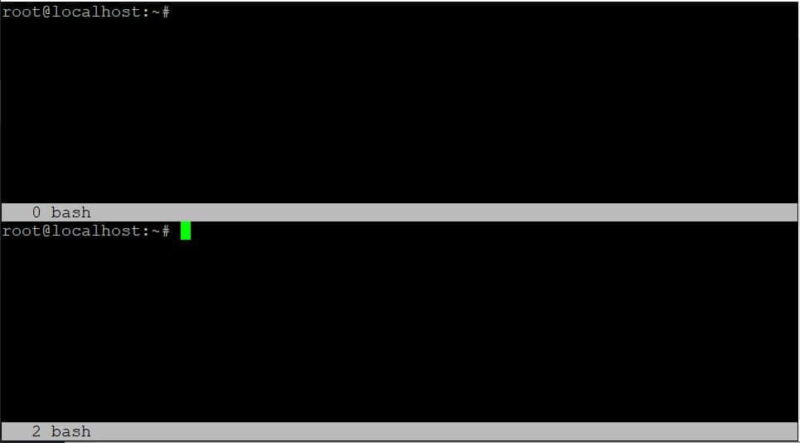
In case you don't want to split your screen vertically and looking to split it horizontally then you need to press Ctrl+a followed by S(uppercase s) as shown in below screenshot. You can keep repeating the same process to get n number of horizontal screens. Here also there is no limit.
Example 10: How to Unsplit the Screen
Once you open your screen either horizontally or vertically, then you can unsplit it back by pressing Ctrl+a and then Q(uppercase q) as shown in below screenshot.
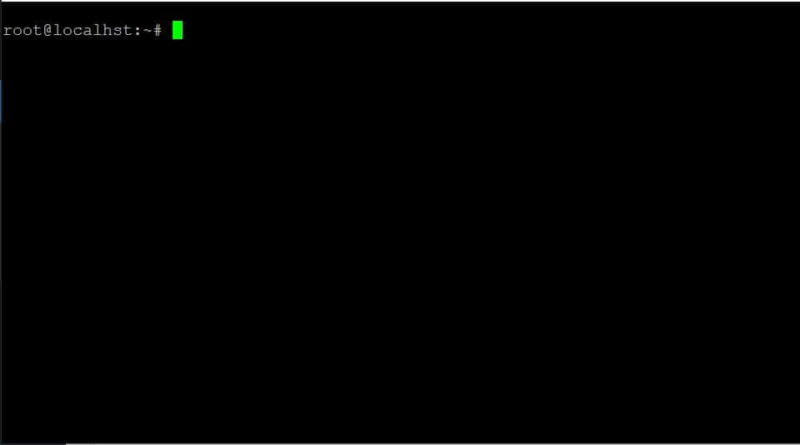
Example 11: How to Switch Screen
After splitting the screen, if you want to switch your screen to next screen then you need to press Ctrl+a followed by tab to move to another screen as shown in below screenshot.
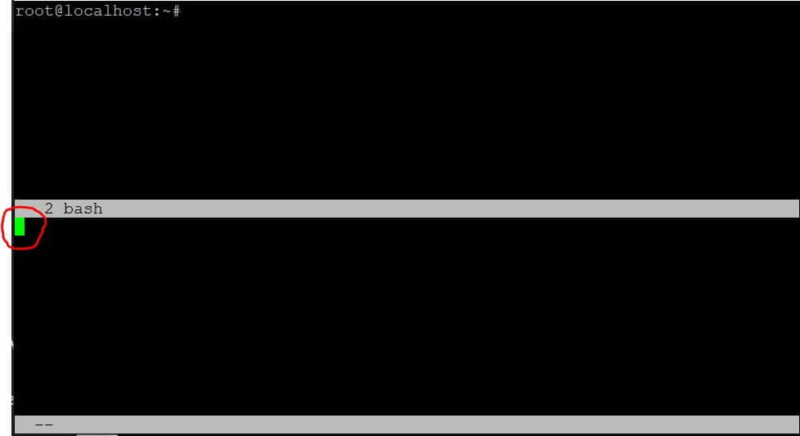
Example 12: How to Create a New Terminal in Split Session
When you split your screen either horizontally or vertically then it does not create any terminal session automatically. To create a new terminal session, you need to again press Ctrl+a and then press c as shown in below screenshot.
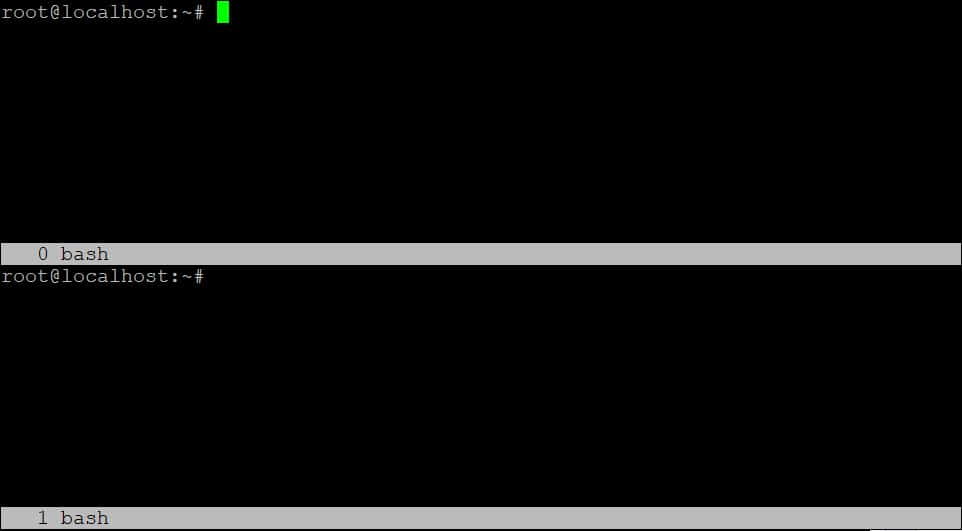
Example 13: How to Lock Your Screen Session
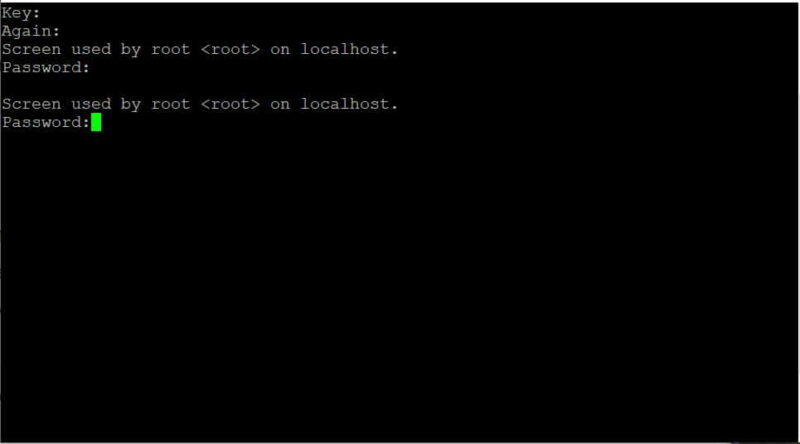
Sometimes you might be thinking if it is possible to lock your Screen session only and not lock the entire Desktop or Server when you are not working on your System. The answer is yes. You can only lock your Screen session by pressing Ctrl+a followed by x(lower case) as shown in below screenshot. It will ask you to set your password first and then confirm it again. Once done, your screen session will be locked. Now it will only open with the password you set earlier.
Example 14: How to Terminate Screen Session
If you want to terminate current screen session, then you need to press Ctrl+a followed by k as shown in below screenshot.

Example 15: How to Check the Owner of the Screen
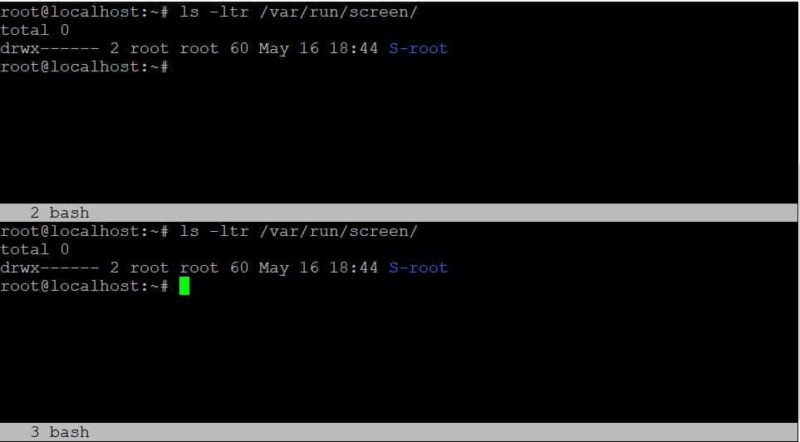
If you want to verify the owner of the opened screen sessions then you can list out the contents of /var/run/screen/ directory using ls -ltr /var/run/screen command.
Example 16: How to Check all the options available with Screen command
If you want to check all the options available with screen command then you need to use screen --help command as shown below.
root@localhost:~# screen --help
Use: screen [-opts] [cmd [args]]
or: screen -r [host.tty]

Options:
-4 Resolve hostnames only to IPv4 addresses.
-6 Resolve hostnames only to IPv6 addresses.
-a Force all capabilities into each window's termcap.
-A -[r|R] Adapt all windows to the new display width & height.
-c file Read configuration file instead of '.screenrc'.
-d (-r) Detach the elsewhere running screen (and reattach here).
-dmS name Start as daemon: Screen session in detached mode.
-D (-r) Detach and logout remote (and reattach here).
-D -RR Do whatever is needed to get a screen session.
-e xy Change command characters.
-f Flow control on, -fn = off, -fa = auto.
Example 17: How to Check Man Page of Screen Command
If you want to check the man page of screen command then you need to use man screen command as shown below.
root@localhost:~# man screen
SCREEN(1) General Commands Manual SCREEN(1)

NAME
screen - screen manager with VT100/ANSI terminal emulation

SYNOPSIS
screen [ -options ] [ cmd [ args ] ]
screen -r [[pid.]tty[.host]]
screen -r sessionowner/[[pid.]tty[.host]]

DESCRIPTION
Screen is a full-screen window manager that multiplexes a physical terminal between several processes (typically interactive shells). Each vir‐
tual terminal provides the functions of a DEC VT100 terminal and, in addition, several control functions from the ISO 6429 (ECMA 48, ANSI X3.64)
and ISO 2022 standards (e.g. insert/delete line and support for multiple character sets). There is a scrollback history buffer for each virtual
terminal and a copy-and-paste mechanism that allows moving text regions between windows.
